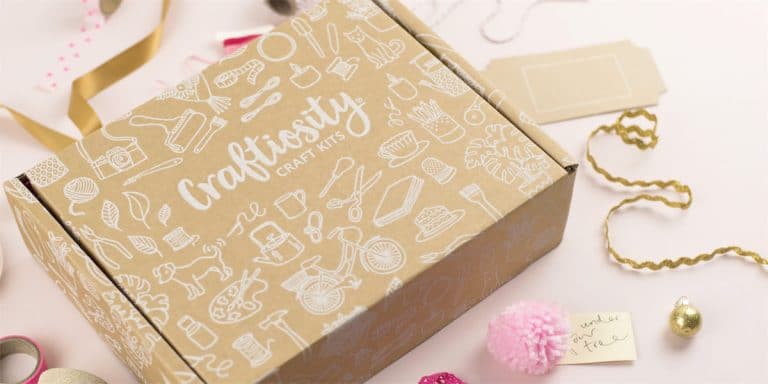
Craftiosity is the subscription for anyone who loves creating lovely things! They’re usually things for the home, both decorative and practical.

The box is always beautifully presented and packed. It contains everything you need, except for basic tools like scissors or rulers.
This month’s kit is to make a lovely stencilled apron, using colourful inkpads and a stencil that you make yourself. Included is the stencil, ink, and a craft knife for the cutting out.
Of course there is also a blank cotton apron!

The instructions are beautifully clear, and you can also find a video online if you prefer to watch rather than read. As you can see, the stencils – made from card – require cutting out with the craft knife, but it’s perfectly sharp and all you need is a steady hand! You only need two of each, the half and full slices, but four patterns are provided in case of any mistakes.
They suggest using the opened out box to cut and stamp on, but I actually used a cutting board, or you can use a craft mat if you have one. The design is bold and simple, which looks very effective, and you don’t have to worry about cutting out tiny little intricate pieces.
As this kit uses a sharp implement, it is not recommended for children. My 11 year old daughter and I actually made this project together (the pictures above and below are her hands), and she worked very well as she’s used craft knives before but I wouldn’t recommend for younger children and supervision is essential.

The square inkpads in orange and yellow are lovely and vibrant, perfect for the citrus slices. The instructions show a sort of swooping design across the front, but we decided to go a bit random!
Using the stencil is quite easy, just hold it on the fabric and press down. You have to be careful of the corners outside the edge of the stencil, but the ink looked beautifully bright. We also decided to do opposite colours to the instructions, with the small half slices orange and the large yellow.

As well as separate yellow and orange we also decided to have a go at creating some ombre slices, which looked amazing – I think if we did something similar we’d use ombre for all of them because it looked so effective!
The two ink pads were the perfect amount to make plenty of slices before they ran out.

And this was our finished design! Like I said, we didn’t really plan the pattern, just put on them on sort of at random, but the effect is absolutely gorgeous.
The final thing to do is let the ink dry for 24 hours and then iron it to set so it is permanent and can be washed.
This was such a lovely project, it took us a couple of hours over an afternoon, and we’re both very proud of how it looks. The bright colours and simple but striking shapes are incredibly effective, and will be a lovely reminder of summer!


