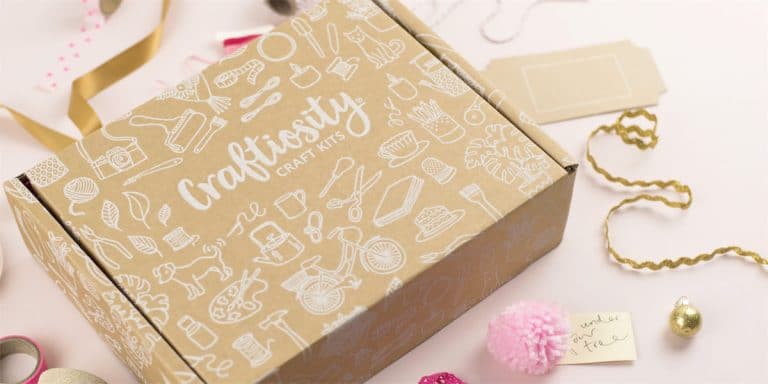
If. you love being creative but are never quite sure where to start, Craftiosity is the perfect subscription for you! Every month they send you a different creative project to make, using different media and techniques.
This month involves two different techniques – making a cast concrete dish and then painting it. Having seen lots of those fun online videos about casting concrete I’ve always fancied having a go, so I was delighted to be asked to review this box!

Inside the box, which is beautifully presented, is everything you need. The only thing you need to provide are items you would have in the house anyway, such as scissors and ruler.
Here we have whiter concrete powder, a tray & stick for mixing, acrylic paint & brush, and a proper mask, because concrete dust is nasty stuff to breathe.
There are also detailed instructions (with a link to a video if you prefer to watch what to do) plus some lovely postcards that are great for sending, pinboards, mood boards, or scrapbooking.

The first thing to do was to create the mould for the concrete. For this I needed to cut out a paper template and then trace onto the sheet of pliable plastic, which would become the mould. There is a proper craft knife included in the box – I have several of my own but lots of people don’t, and it’s necessary to cut the plastic. I decided to use the one provided instead of my own fancy ones, and it worked perfectly.
To bend the sides in the plastic needed to be scored as well, which required scissors, and the suggested metal ruler was very useful here.
As you can see from the last picture I managed to creak the plastic along one of the folds. But as the whole thing was going to be sealed this actually didn’t matter at all.

Having cut and scored the plastic pieces, it was time to tape them together with the electrical tape in the box. This is smooth and plastic, and just the right thing.
There were two triangles, one for the outer shape and the other to tape upside down inside to create the dish part. This was surprisingly fiddly, as I had to be careful not to leave any bumps in the tape.
In the picture on the left you can see the extra tape I needed to add where I split the plastic!

Then it was time to mix up the concrete. This was actually very easy. It had to be mixed in two halves, but it was a question of adding the right amount of water to half the powder, mixing until smooth, pouring into the mould, and then repeating the process.
I put the mould on a baking tray to keep everything tidy and off my kitchen counter.
Once the concrete was all in I needed to shake (carefully!) the try to try and bump out all the air bubbles. As you can see there are still a few tiny ones, but that’s actually the base facing up so it’s not a problem.
Then it was a question of leaving to dry, which was going to take 24-36 hours.

After a couple of days, I unpeeled the tape and unfolded the mould to turn out the dish!
As you can see there are some tape marks visible, but the next job was to use the sandpaper – also included – and wet sand these out. It took a little while to complete, but in the end it was pretty smooth.
After leaving to dry once again, it was time to paint.
There was lovely blue acrylic paint included, plus also a template for the folk art-style design. The way to transfer the design want to draw over it with pencil, the flip the paper and draw on the other side on the concrete, which would transfer a light pencil line onto the concrete, which would not show when painted.
Now, it was also suggested in the instructions that you could put your own design on the dish, so that’s what I decided to do! I love William Morris so found a colouring page online to print out, and used the same technique to transfer part of the pattern onto the concrete.
I didn’t take any pictures of the process as I was completely absorbed so I forgot!

Here is the dish after the first painting. My painting technique isn’t amazing, and it took a lot of concentration. The brush supplied was nice and thin though, and it was possible to get a good narrow line.
The big flower thing in the middle in part of the William Morris design, and the other things I just added freehand – as you can see they’re in now way perfect but it looks handmade!

And this is the final result! The blue is much darker, two coats as suggested in the instructions was definitely the right thing to do. it also meant I could make sure the lines were more or less tidy and fill in any thinner pieces.
Even though it’s not perfectly centred, I’m very pleased with this. While I adore crafting, painting is not something I really any experience of, so while this was a super steep learning curve I think it has come out very nicely.


