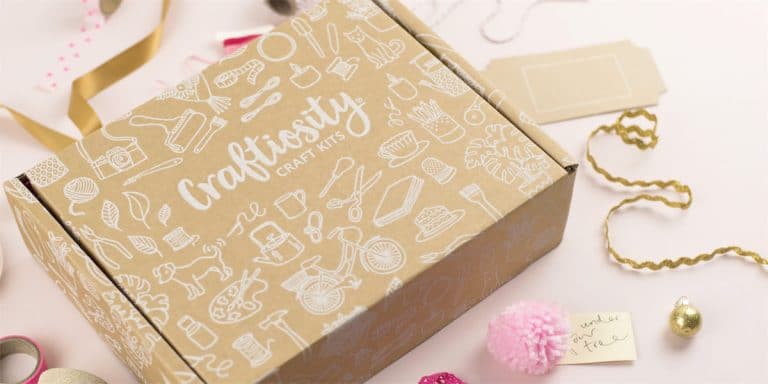
This month’s craft kit from Craftosity features a craft that I’ve always wanted to know how to do but never found out – French knitting! French knitting uses a little bobbin or spool – often in the shape of a doll – to produce a woven rope that can be used for all kinds of decorative things. In this case it’s used to decorate a cotton bag by sewing lengths of knitted cord on to it.

In side the box is everything you need to create the craft. Like all Craftiosity kits you don’t need any special equipment or materials, everything is provided. In this one we have two colours of wool, a cotton bag, needles and thread, a template, instructions, and of course, a French knitting doll!
I had one of these dolls as I child and had absolutely no idea how to use it. I realised when I got this one that it was partly because you need a wooden pick, rather like a tiny knitting needle, to actually do the knitting part.

Craftiosity always provides an excellent instruction sheet, and also a video instruction. I don’t always use the video but in this case I found it absolutely invaluable to get me started. It’s definitely easier to be able to actually see somebody it and following along.
I won’t try to actually explain French knitting properly, but you wind wool around the little metal prongs and use the pick to loop it over, creating the stitches. It’s actually quite simple once you get the hang of it, but I did have to take my time to make sure I was doing it properly.
There’s also the fact that the knitted tube starts out inside the doll so you can’t actually see how it’s going until it gets long enough to protrude from the other end! So I felt rather apprehensive about whether I was actually doing everything correctly.

But eventually it was long enough and I could see the results, and it looked pretty good! It’s one of those things that you do have to pay attention to, and it feels quite awkward at first, but eventually you get into the rhythm of it.
Anyway, on to the decorating of the cotton bag.
There’s a suggested template in the kit, but I decided to do a different pattern. I thought a single line type design would work well, and something not too complicated, so I found a leaf design online and printed it out to the correct size.
To work out how much knitted cord I needed, I simply used string to match the pattern, and then kept checking the length of cord as I knitted. Very simple! The design was transferred to the bag by popping it inside and tracing lightly with pencil.

The once that was done it was just a matter of sewing it on to the bag following the line I had drawn.
And here’s the result!

I went with the green colour wool because I thought that looked better for the leaf, though the purple colour is very pretty. I might find a similar single line flower design and do that on the reverse of the bag in the purple, which would be a great contrast.
I’m so pleased with how this has turned out, and I’m especially delighted to have learned a new skill, especially one which I have been curious about for a long time!


