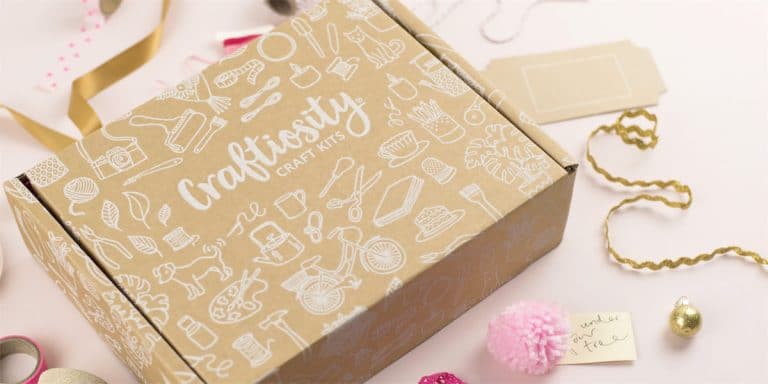
Craftiosity is an all-in-one kit for creating something lovely for your home. It’s perfect for anyone who loves being creative and would like to make things with their hands, and enjoys trying out different techniques. Every month you get a different kit using a different technique.

Full instructions are included, access to a video too, and everything you need to make your lovely item. The only thing you need to have are basics like scissors, measuring tape or ruler, and perhaps a pencil. There are also a lovely set of postcards, which you can use for sending, journaling or scrapbooks, or just design and aesthetic inspiration!
Sometimes what you make is extremely precise, and will look exactly like the examples in the instructions and video. Other times you get to flex your design muscles a little bit!
This month’s technique is leaf print and sewing/embroidery. There’s six lovely colours or embroidery floss, needle, a tea towel, ink pad, and of course the instructions and cards.
I must confess I was slightly apprehensive, as my sewing skills extend no further than buttons and nametapes!

The idea was to embroider a quote on the tea towel, then decorate it with leaf prints using the ink pad and leaves you collect. There is a quite on the example, or you can look for one yourself. Most quotes seemed to be more related to autumn, which I didn’t want because the colours are all green, but I came across a lovely Charles Rennie Mackintosh quote: Art is the flower… Life is the green leaves.’ which I thought was perfect.
The first thing to do is trace your quote in light pencil on the tea towel, which will be your embroidery guide. My handwriting is quite terrible, so I actually used a design program on my computer to put the words in a pretty font and curve it around. I printed it (you can see the edges were cut off a bit but that didn’t matter) and it was dark enough to be seen though the white fabric.

Once that was done, it was time to pick some colours, take a deep breath, and start sewing. I decided to use two different colours, one for each line.
The sewing itself was fine, once I got used to it. It’s a basic backstitch, which means you sort of go back on yourself to make sure you have an unbroken line, making sure you keep the stitches very small. The instructions were really good, and I was surprised easily, as long as I was careful, that I could create a lovely line. It’s the perfect thing to do while listening to music or a podcast, the line sewing is really rather zen.

Here’s the finished embroidery part. I went back and added a few stitches here and there to make some of the lines longer, and also to do the crossed t’s and the dots. Up to this point I think it took me a little over three hours, which also included finding and printing the quote.
The leaf prints need leaves, so I used a dog walk to see what I could find!
I did find some interesting shapes, but I didn’t necessarily feel that confident about stamping the more delicate ones, so I collected a variety and then played about with placement.

I had a general idea of how they would be placed, and then had a bit of a practice on a piece of paper. The different is with the paper you put the leaf face down, whereas the instructions say to place the leaf down with the inked side up and place the towel on top, pressing it down well.

This is the process (I flipped the towel over to peel off the leaf) and you can see the results. I did the leaves on the bottom first, and didn’t use quite enough ink, as you can see how the print isn’t perfect.
The leaf placement on the towel was probably the most tricky thing – it didn’t turn out precisely as I had planned, but it actually didn’t matter at all.
So once the prints were done, it was time to add some embellishment. This was something of a free-for-all, so I looked at the example and then tried to figure out what I could do. Suggestions were to use a running stitch, which looks like a broken line, t create shapes and to trace around and through the leaves.
This part I completely eyeballed and just sort of went with the creative inspiration! I used another colour again for this, and once again, it turned out brilliantly.

This is how it looked once I’d added the bits and pieces. I had a lot of fun figuring out the embellishments, and sort of made a feature of the incomplete prints too.
I enjoyed doing this so much, and I think the end result is beautiful! I also have no intention of it. being used as an actual tea towel, because I don’t want it to be spoilt. I’m not quite sure yet how I’m going to use it, but regardless, I’m incredibly proud of how it turned out.


