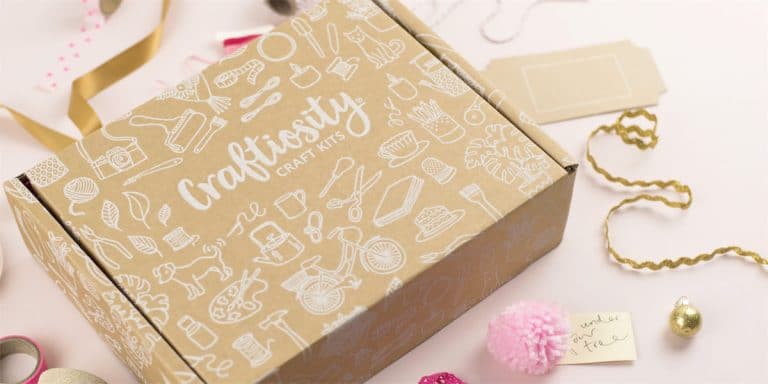
If you love to be creative, Craftiosity is the perfect subscription! A lovely new craft to try out every month, including all the materials necessary and full instructions, and at the end you have lovely decorative item for your home or even for gifting.

The latest box I’m trying out is something I’ve always wanted to have a go at – candle making! The Rose Quartz Ombre Candles kit contains everything you need to made two lovely ombre candles complete with rose quarts chips for the final decorative touch.

There’s easy-melt candle wax with two wicks, two glass vessels for the candles, plus candle dye and the rose quarts. The only thing you need to provide is a saucepan and some means of heating water.
The first thing to do is to melt the wax, which is in a carton (it’s recyclable, which is very nice to see). This sits in simmering water until it’s melted. It takes quite a while, so a bit of patience is necessary here! While that was melting I placed the wicks in the glass pots. I also thought about which colours I might use for the ombre effect. There were three wax dye chips included, red, blue, and yellow, from which of course you can make practically any colour.

The instructions – which is always very clear and easy to follow – said to add very small pieces of the dye to the bottle of melted wax, gradually adding more with each layer to make the colour darker and create the ombre effect. It also suggested pouring half the wax into another container if you wanted to make two different colours. I did consider this, but eventually decided to do both candles purple, which is of course a mixture of the red and blue.
The first layer was nice and pale – I was very careful scraping off a little piece of dye with a paring knife.
I did make a small mistake in not waiting for the first layer to develop a proper skin before pouring in the next one, so the bottom part wasn’t quite as delineated in colour as I intended. But I learned that lesson fast and spent a bit longer waiting before pouring in the subsequent layers.

Once they were all in I left them to delay a skin again before adding the rose quartz chips.
As you can see, there are actually three candles there. I suspected I might have enough wax to make an extra little candle and I happened to have an empty small candle jar I’d just cleaned out. While there wasn’t an official third wick, the two included were much longer than needed, so I snipped a piece off one of them and popped it in the small jar. It was just big enough! I also had nine quartz chips in total, so that made a nice even three per pot.

And this was the final result! As you can see, the bottom layers, especially the one of the left, was a bit thick, as they’re actually two layers that mixed a bit, but it doesn’t matter at all, I think they look fantastic! I love the layered ombre effect, it’s really pretty. This is actually a relatively easy craft. You don’t need much in the way of technique, but you do need have some precision, because you need to be careful and controlled when pouring the wax into the pots.
These would be a lovely gift, and with more wax it would be fun to try different colours – green and red would be gorgeous for Christmas! It’s certainly an inspiring craft, and produces something that looks very impressive indeed.


