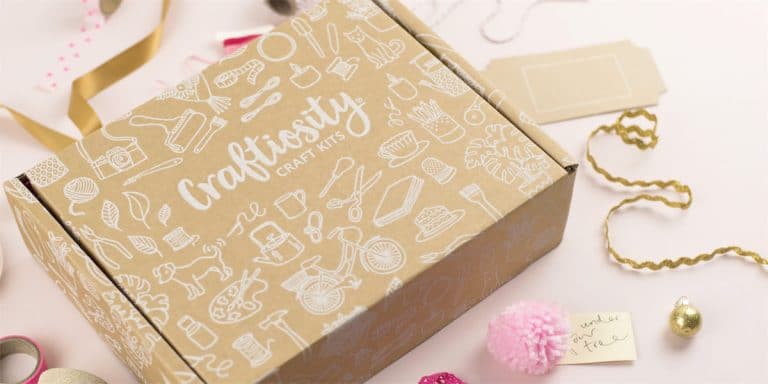
If you enjoy crafting and making, Craftiosity is the perfect subscription to get the creative juices flowing! Craftiosity creates individual craft kits in a wide variety of techniques, so you can try your hand at anything from embroidery to macrame to clay moulding.
Inside the box is everything you need to make a beautiful piece. The items are both decorative and useful, something beautiful for home or to gift. The only things you need to provide are things you will have in the home anyway, such as scissors or rulers.

The latest kit I’m testing out is a Shashiko Roll Up Pouch. Shashiko is a traditional Japanese embroidery used to decorate cloth and clothing.
The last project I did a few months ago was also embroidery, but completely different. So at least I’ve had a bit of sewing practice recently!

Inside the box is lovely soft fabric, pins, a needle, an assortment of embroidery floss, a water-soluble pen, and of course extremely thorough instructions. You also get some beautiful postcards that reflect the theme of the craft, which are lovely for sending, scrapbooking, or a mood board.
Not only are there written instructions, but there is also access to a complete instruction video. I don’t always use the videos, but they are extremely useful, especially in more complicated projects.
This project involves making th pouch from scratch, and using a template to create the pattern.

The first thing to do is to cut out the pieces of fabric, then trace the pattern onto one of them. I held the cloth up to the window to make it easier to see the pattern though the fabric. The blue pen is a special ink that completely disappears with water.

The comes the pattern. There are five beautiful shades to choose from, but you only need two. it’s really nice to have a choice, as the pink-purple spectrum offers a lot of variety for contrast. I decided to go with the darker purple for the simpler crosses, and a dark pink for the smaller stars.
I’m the first to admit my sewing skills aren’t amazing, though I can do some basic stitches. This pattern was actually relatively simple, one of these things you sort of get into the zone. My stitches weren’t quite as flawlessly identical as in the instruction pictures, but overall it went quite well.
As you can see you sort of go along the diagonal lines, rather than doing each cross individually, and that actually makes it much easier to keep the lines straight and relatively even.
This is the sort of thing that is perfect for listening to podcasts, which is what I did for this part of the project!

Next up is creating the pouch itself. This is the part I decided to use the instruction video for. the written instructions are excellent, as always, but somethings with something like this it’s really useful to actually see somebody doing it so you can copy along exactly.
The first thing is the inside that has a series of pockets you sew in using lines of stitches. You can make them whatever size you like, just draw the guidelines on. I decided not to make them too small, because I didn’t want to risk them being unusable.
These were sewn in using a running stitch, which is pretty much the easiest stitch there is. If you don’t know how, the video instructions show you exactly how to do it.
After the inside pockets, you put the whole thing together. It’s really important to use the pins to keep it all straight and even, and when you cut out the initial pieces you draw in borders which guide your sewing.
You also sew in to one end a piece of embroidery floss, which will be part of the tie.
Again, running stitch is used,, and there’s just a small unsewn part on one side. You need this to be able to turn the whole thing inside out, because of course you don’t want to see the seams or stitches.

So on the left is the inside-out sewn-together pouch, and on the right is after it’s turned to its correct side. I was very nervous about doing this, being afraid I would pull or break the stitches, but they held up just fine!
Once it’s the right way out, there’s one more pieces of floss to be sewn into the back to complete the tie, then you sew up the small unsewn edge part. Again, I was worried that it would look really obvious, but being careful to tuck in the edges and use small stitches was the key to making it look neat.
After that, it just needs to be ironed to flatten and even it out and it’s all ready!

And here is the finished pouch. As you can see, it’s not absolutely perfectly squared up when it folds together, but some of my initial cutting out was slightly wobbly. Even though I thought my embroidery was really uneven, looking at it all complete it looks really good.


