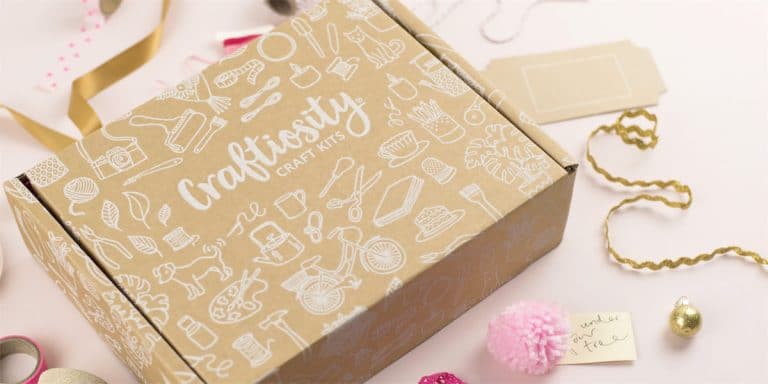
Craftiosity supplies a bimonthly craft kit which includes everything you need to make something lovely and useful with your own two hands. Past boxes have had a huge variety of projects, including a clock, a mobile, needle felting, and lots more. It’s a great way to try out lots of different techniques, and have something lovely at the end of it!

Craftiosity kits are always beautifully presented. This month’s project is creating a lantern decorated with broderie anglaise, which you may be familiar with as a type of decorative sewing.
The lantern contains a little electric tea light (included of course) and the the embroidery pattern is constellations, so the light shines though and shows you the patterns.

There are all the bits and pieces required to make your lantern, and as long as you have basics such a scissors and a ruler – which I assume everyone has! – you need nothing else other than the kit itself.
There’s fabric, needle and thread, embroidery hoop, plus template and assorted other small items to assemble the lamp itself.
Also in the box are some really excellent instructions, step-by-step with photographs and plenty of detail, and there is also a password to see a video on the website. If you are a visual learner that likes to copy movements you see this is extremely useful indeed!
Included are are three lovely postcards which, you can use for anything, sending, scrapbooking, decoration or whatever. It’s a really lovely extra touch.
It’s also worth noting that the things that come with the kits, for example that embroidery hoop, are things that can be kept and reused, so you can build up a little stash of bonus crafting tools and material.

The first thing we need to do is to put the pattern of the template onto the fabric. This is done by making holes and using pencil to transfer the pattern onto the fabric and then drawing lines joining them up. As you’re doing it in pencil on dark blue fabric, the lines will be covered up by stitches.

Then once you have the pattern, you start to create the embroidery. If you’re not familiar with this type of sewing, the instructions are incredibly useful and very easy to follow.

This was the final result of my embroidery! I have to say I’m quite pleased with it.

The finished piece required ironing (or in this case using a heat press as I don’t have an iron!) and then attaching it to the stiff plastic sheet that gives it structure.

Adding hoops, plus the base and candle holder was relatively simple, and the tea light fitted in perfectly.

And this is the finished product!
The blue against blue is quite subtle, but of course the light shines though the little holes as stars, but you can still see the pattern in the daylight.
I must admit that I was really rather intimidated by this at first, because the extent of my sewing skills are buttons and name tapes. But I found the instructions were so very easy to follow and they produced exactly the right effect. While they were not professional-perfect, I’m incredibly proud of the results.
I did find three was quite a steep learning curve, and as there were quite a few little ‘stars’ to embroider I definitely got better and faster the more I did. I also got more brave about making the holes, which is done by sewing a circle and then poking scissors though the inside! Then the final pattern is sewn around it. I can definitely see in my first few where I was a bit shy about making the circle big enough, and a few of the ‘stars’ aren’t really open.
But it doesn’t really matter because it still looks lovely, and I can just turn it around, like in this picture, to show the best bits!


