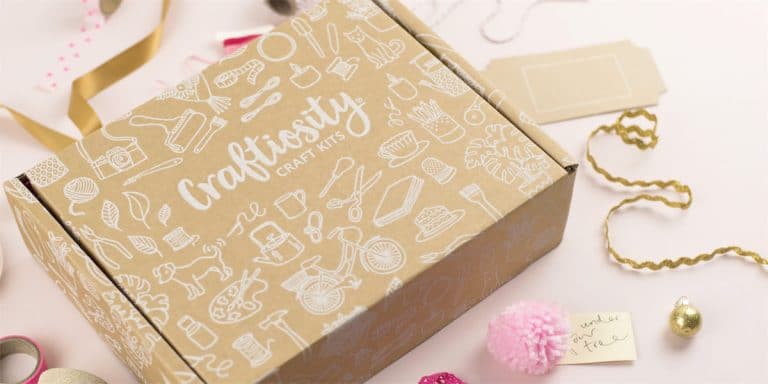
I’ve got another chance to create something with the lovely guided craft subscription box Craftiosity!

This time, it’s a cute little cloud-shaped painted tray, made from air-dry clay then painted.

As always, everything you need is included in the box. There’s the clay of course, acrylic paint, tools, paintbrush, and even a rolling pin! There are detailed instructions, and you can watch a video on the website too, which is very useful is you find it easier to learn by following along with someone. There’s also a template for the cloud shape.

The first thing to do cut out the template, then get out a wedge of clay and roll it out. With the template you sort of trace round it, then use the cutting tool to cut it out using the lines you traced. The edges can be a little ragged, but these are very easily smoothed out with a little bit of water.

Next is creating the edge. and the feet. This means rolling out a long sausage of clay and carefully attaching it around the edge. All you need to do this is some water, then the tools are useful for smoothing around the edges. Because I’m quite clumsy with clay my edges aren’t perfect, but eventually I managed to make it look good!
Then it need to be left to firm up for a little while before adding the feet, which are little round pieces of clay. They are also fixed on with water, and because the dish isn’t totally dry they attache quite easily.
The whole thing is left to dry. This should take a day or so, but as the temperature has dropped and my house was cold it took about three days! Though that actually suited me fine, I rather like crafts that can be done in stages, as I don’t always have a big stretch of time to complete something in. So it’s nice to have the option to leave it and pick it up!
Once it’s dry, on to the painting.

This time I decided to paint it exactly the same way as in the example and instructions. Some Craftiosity projects give you some leeway to experiment, and I often do that, but this time I wanted to do the same thing. This meant painting about a third of the dish with the lovely sky blue paint. I didn’t trust myself not to make a very wobbly line, so I actually found some masking-type tape I’d got in a previous Craftiosity (it’s always worth saving things!) and used that to create a straight edge. I also used two coats of paint so it would get a really nice finish and be less likely to leave brush strokes.

Once that was done, I peeled up the tape, which worked almost perfectly, except on a spot on the edge where I hadn’t pressed it down enough. But fortunately it wasn’t really noticeable.
The speckles were made using the included black paint, putting some on the brush, and flicking it on to the surface, being careful to cover the painted part with a piece of paper first. As you can see, the effect looks great, though I somehow ended up with rather speckled hands as well!
The it was left to dry a final time, another 24 hours ro make sure everything is well dried out, and it’s ready!

I think it looks really effective, the colours are wonderful and I love the contrast between the solid blue and the black speckles. Perfect for trinkets, keys, or whatever!


