February brings another lovely craft project from Craftiosity – The Women Table Runner.

This project has a great combination of guidance plus opportunity for individual creativity to make a lovely decorative and useful item for your home.

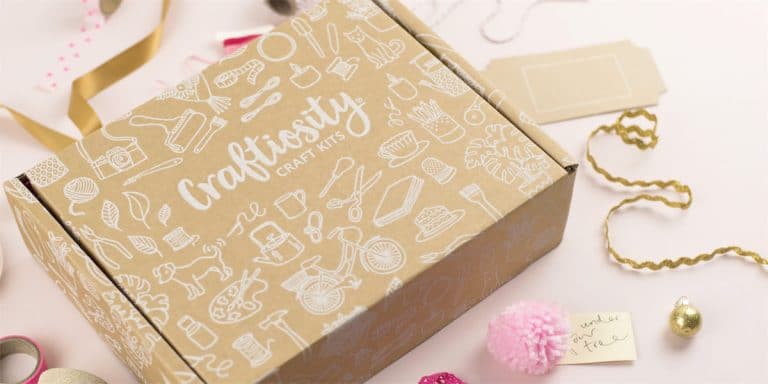
Inside the box is everything you’ll need to make your project. Here we have a loom card, yarn, a needle, cord, full instructions, plus a little treat to keep you going!
The instructions themselves are extremely good. There are very clear step-by-step instructions in the booklet with pictures, and there’s also a a video on the website (accessible with a given password) which shows you how to do the whole project as you go along. I don’t always use the videos, but on occasion I’ve found them invaluable as it means you can see exactly what you are supposed to be doing. The video for this project was very useful a couple of times in the more tricky bits!
Anyway, on to the project. there are three colours of yarn provided. While I liked these colours I actually decided to use some different coloured yarn that would be slightly more neutral. As it happens, Craftiosity often provides more materials you need for just one project – this means you can frequently make multiple items, or just save the leftovers in your stash for future crafting! In this case some yarn from a previous project was perfect.

The first thing to do was wrap the yarn around the loom card to give the structure to the weaving. Then the needle to pass the chosen colour back and forth over and under the strings. The first couple of rows feel a but thin, but as you can see it soon builds up.
There is a colour an design guide in the instructions but of course you can choose colours and thicknesses of stripes and patterns as you wish.

After a couple of stripes, it was time to add the cord. As you can see it’s much thicker than the yarn and adds a nice extra texture. If you look at the original picture you can see the cord is going to kind of loop around as stripes in several places with weaving between.
Changing the colour is actually quite easy – you stop half way along the last row and leave a nice long tail, then continue with the new colour. You might think this would look uneven but it doesn’t at all.
So, a few more rows of weaving then more cord. I had to be quite careful to make sure the curves and loops were nice and even and stay together with no big gaps. Threading them through is not difficult, as there is plenty of flexibility in the vertical cords.
I made a more or less symmetrical pattern with my woven lines, using blue and orangey pink, which I thought would contrast nicely with the three monochrome cords.
Once the cord loops and weaving were finished, it was time to add tassels. Rug tassels are slightly different from the kind of individual tassels you make (if you’ve ever done that, it’s very easy and they look very cute!). The instructions said to use a piece of cardboard from the box to wind reveal loops after yarn around – this is how all tassels start – but I just used my hand. Then you cut one side to give a bunch of long strings, which are then wrapped around two of the vertical yarn lines and push up to tighten. You might think they would fall out, but they don’t, and then you add a few more lines of weaving underneath for security and tidiness.

So here is the weaving while it’s still got all those long tails of yarn from the changing colours. Looks quite messy, huh? The instructions tell you how to take care of that. Basically you use the needed again to push the, through to the back and then sort of weave them through the loops in the weaving which secures them nicely, then cut off anything remaining.

So there is the back with all of the tails secured and cut off. Looks a lot better! You can also see tieback of the finished tassels, though that was before they were properly trimmed.

The final result! Now, the instructions also tell you to make two, each with one tassels edge, then sew them together to make a longer runner. I actually quite like the size of this one by itself. I think it would nicely on, for example, a small side table or bedside table, or even as a larger coaster or table mat. I love how the curved cord looks too, it’s a great contrasting effect both in the colours and the texture.
You could also make shorter versions to use as mug coasters, with or without the cord. It would be interesting to experiment with different looks here, and bright colours would look fun too.
Overall this is a lovely item, quite unusual, and very effective.