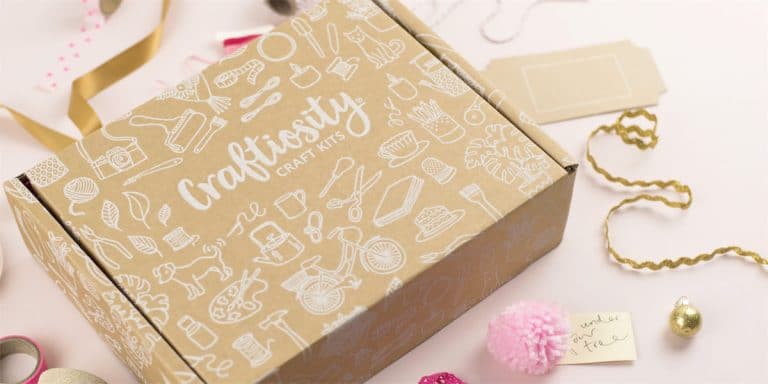
Every month Craftiosity sends you a complete kit to produce a beautiful handmade craft item. There is a different technique every month, and the items are all for the home, practical, decorative, or usually both! Everything you need is inside, any special equipment, and of course all materials. You don’t need any fancy skills either! The only things you need yourself are things that everyone has in their home, such as scissors or string.

The boxes are beautifully presented – I love the ‘and so the adventure begins sticker! As well as materials you also have a card for your mood board, and a detailed instruction booklet. If you prefer to watch rather than read, each craft also has an instruction video on the website, which are particularly useful for any tricky aspects of technique.
In keeping with the season, Craftiosity has got a lovely summery project for us: Tropical Paradise Papercraft Trio!
This is three wooden discs that you decorate with colourful paper cut-out flowers, leaves, and insects, which can then be hung up as a beautiful decorate accent. The discs are included, of course, along with templates for the cut-outs, lots of colourful card, paints and brush for decoration, glue, and hanging attachments.
The wood discs needed to have the edges sanded with sandpaper that was provided in the box, but that’s not too interesting to photograph! You could also paint the disc if you like, or leave it natural.
I decided to paint it white with sort of a yellow edge, a bit like the sun. It wasn’t in the instructions, but one of the nice things about a lot of these projects is that you can go a little off-piste and add your own creative touches. For some reason I didn’t take pictures of this, though you’ll see it in some of the pic below.

While I was waiting for the paint to dry, I chose which accents to use. There are examples in the illustrated instructions, so that is useful for some inspiration, though of course you can really choose to decorate them however you like! You can cut out other flower shapes as well, though the templates have plenty of variety.
I decided to do something similar to one of the pictures, so I chose the colours I wanted and the flower shapes. I discovered the easiest way for me to make the shapes to cut out was to place the template over the coloured card and draw over them with a blunt pencil. This created an indentation – you can see it in the middle picture – that was easy to cut out.

Then you create the middle of the flowers, which is strips of card which you cut into a fringe on one edge, roll up and glue. Once the glue is dry you spread out the little fringy bits. There’s a bottle of PVA glue included in the box, so you don’t need to worry about having any yourself.
It was also suggested in the instructions that you can use the paints to decorate your flowers and leaves a bit, to give them a bit of depth. Of course you don’t have to, but I thought I’d give it a try, and added a few little accents. The flowers have more than one layer as well, so you think about how they will look together.

The instructions also tell you how you can add a little depth to the flowers by curling the petals around the paintbrush, and bending and scoring the leaves.
Once the layers were stuck together I played around with the layout to see what worked best. When sticking them down you have to remember that the bottom layer, the leaves behind, have to be stuck down first, so actually having a picture to refer to is very useful! On the right you can see how they looked when I’d stuck down the middle of the flowers too.
You can use the PVA provided to stick everything down, but I do actually have a glue gun (a very useful tool to have if you enjoy crafting!) so I decided to use that for the flower middles and also to stick everything down on the wooden circle.
You can also see from the picture how I painted the circle.
Anyway, once it was all stuck down, the last thing to do was add the hanging hook, and it was finished!

I decided to hang it at an angle, as I really like the slightly asymmetrical look it gives. You can see how the flowers are slightly curled to give them some extra shape.
I think this looks really pretty and summery, and the next two I do I will try adding some of the insects too.


