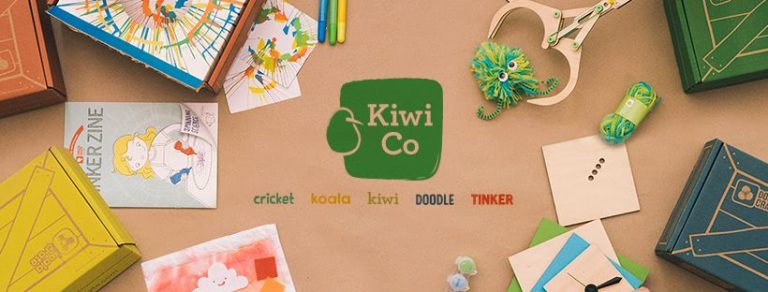
KiwiCo produces a variety of STEAM project boxes for all ages! There are science and arts/craft themed boxes, all creating a wonderful variety of items.
The three main age groups are 0 – 8, 9-13, and 14+.
The boxes are slightly differently priced, depending on which box you pick; the simpler boxes for younger children are cheaper, but of course they are also less complicated.
Of course the 14+ box means it’s suitable for adults too, and so as an adult I’m trying the KiwiCo Maker Crate, which is focused on Art and Design. It costs from £23.99 a month.

This month’s project is to make a Sashiko Embroidered Lamp.

It’s a sewing project, where you embroider a design into a piece of fabric before assembling a lamp, for which all the components are also included.

Sashiko itself is a Japanese technique, that is quite simple but produces beautiful results.

As you can see, everything you need is included in the box, right down to the sewing needles! There’s even a stencil so you can create your own designs, which is always an option with the Eureka boxes.

These Maker projects all have video rather than written instructions. At first I was a little sceptical of this, because I like reading as I go, but I realised with my first box last month that it is actually very easy to work along with a video!

One useful thing is that the video gives you an idea of how long the project might take, depending on the complexity of the pattern you choose.
I love crafting but sewing is not my strong suit! I know how to do basic sewing, but I am extremely slow. I’m going to choose the middle pattern, with all the semicircles, but I know it’s going to take me a very long time to do it. I’m planning to do this project in bits and pieces over the next couple of weeks, so in the meantime I’m going to walk you through it with some screenshots from the video.

The first thing is to learn the basic stitching. There’s an extra square of hemmed material included to practice on, and of course you could then use this as a coaster or similar.
The guidance is very clear, right down to the tiny details.

You learn how to transfer the pattern onto the fabric – it’s not just by eye! – and again, the video shows all the steps very clearly.

Once you have practiced on your small square, and have chosen a design, you can move on the actual lampshade.

Everything is the same as for the practice piece, except for the size. The video shows every stage, and as well as the visuals there is also a voiceover which explains everything that you need to do.
Very sensibly, there are even points where it is suggested to pause the video if necessary, and to go back and watch more than once of you need to fully grasp the process.

Once the stitching is complete, there is another video on how to assemble the lamp.
This definitely looks more complicated than the previous month’s magazine rack, but once again, it is very clear.
The lamp itself has a USB plus in the switch, so it can be plugged in anywhere and you’re not restricted to one kind of plug.
I’ve watched the videos a couple of times now, and I’m totally confident that I can follow it just fine. My main problem is going to be the stitching, which is going to take some time as it’s definitely going to be trickier than my usual button-sewing!


