KiwiCo produces a variety of STEAM project boxes for all ages! There are science and arts/craft themed boxes, all creating a wonderful variety of items.
The three main age groups are 0 – 8, 9-13, and 14+.
The boxes are slightly differently priced, depending on which box you pick; the simpler boxes for younger children are cheaper, but of course they are also less complicated.
Of course the 14+ box means it’s suitable for adults too, and so as an adult I’m trying the KiwiCo Maker Crate, which is focused on Art and Design. It costs from £23.99 a month.

This month’s project is to make a Stenciled Book Holder!
You don’t just put it together, you learn to make a stencil and create your own design.
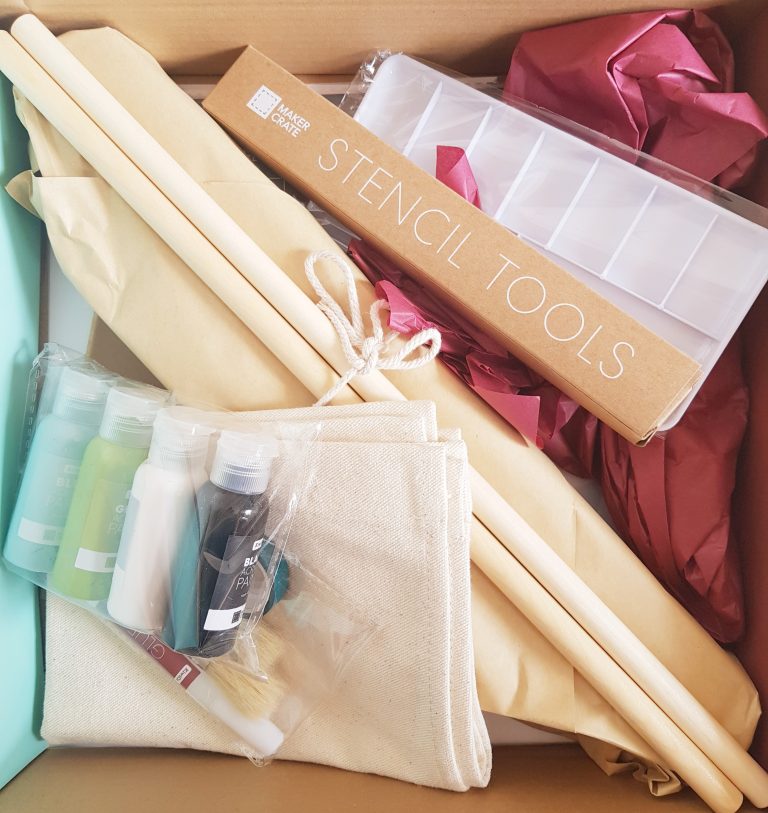
Inside the box is everything you need to put it together.
There are wooden pieces for the frame, glue, paint, stencil materials, brushes, mess mat, craft knife, and cutting mat.
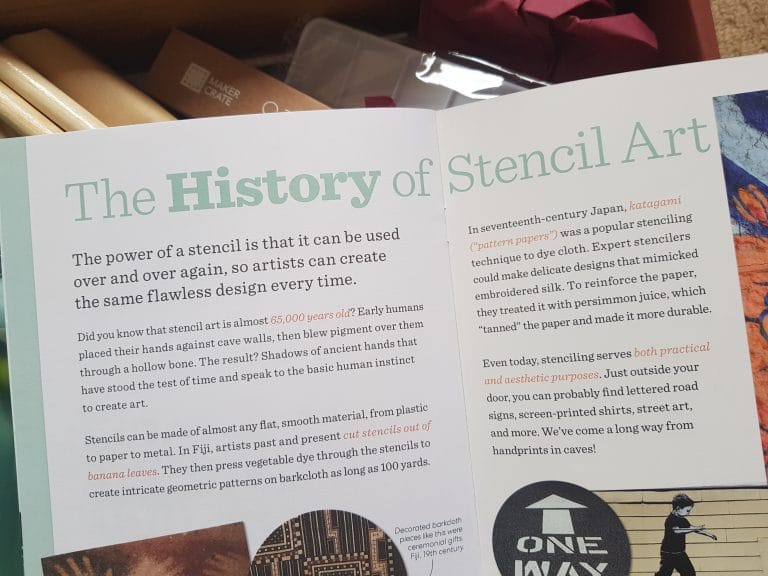
There is a booklet enclosed which gives you a little bit of insight into the history of stencil art – an interesting bonus!
As to instructions, rather than written instructions, you are directed to videos on the KiwiCo website.

Ordinarily I prefer written instructions, but actually the videos were extremely useful. The were very easy to follow, clear, and you can see and follow along with everything you are supposed to be doing.
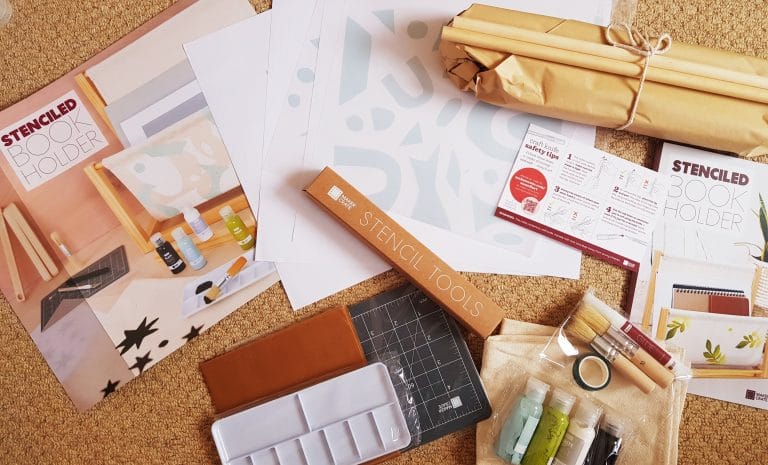
Here are all the pieces included.

The first thing to do was to make your stencil. This involves using a very sharp craft knife, so definitely not one for kids! But there were even guides on safely using the knife, both on a card in the box and on the video, so even if you hadn’t used one before it would be very difficult to make a mistake as long as you are being careful.
Included were several stencil template options, leaves, stars, and abstract shapes. You could choose to use a template, by drawing over them with the included (non-smudging!) pen, or create your own shapes from scratch.
I decided to use the leaf and flower shapes, as the paint options included green.
There was also an extra sheet of stencil plastic so you could make more than one stencil!
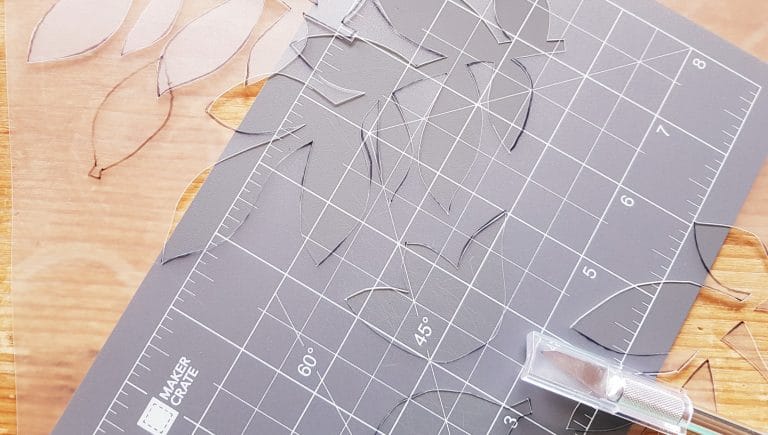
A cutting mat is essential, so I’ve very glad one was included. There were also great tips for accurate and careful cutting.
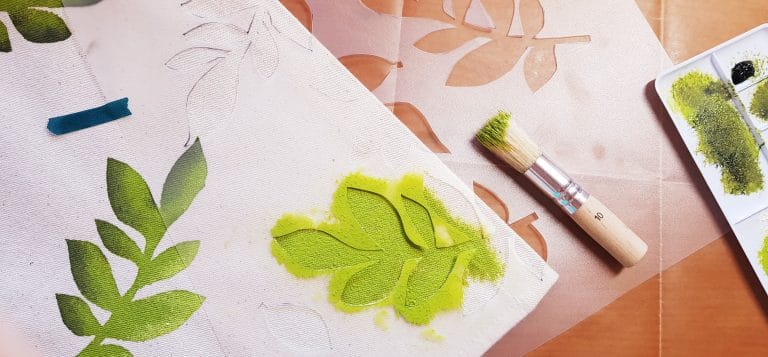
Once the stencil was done, it was time to start actually painting!
The paint was regular acrylic, which is very easy to use, and there were two brushes.
This portion of the video was equally informative, with lots of tips and suggestions about mixing paint and the technique of stenciling itself. Dabbing not brushing, and keeping the stencil pressed down on the fabric, and how to position the fabric to paint the parts that will be most visible.
It’s also important to think about the layout of your design, rather than just jumping in with the paint!
Oh, and it suggested ironing the fabric (regular cotton canvas) before using, which was very sensible.
As you can see, I did the leaves, and decided to get a little bit fancy with blending the paint colours a bit to give it some depth. But of course you can do it any way you want to, and there were four colours to play with.
Acrylic paint doesn’t take long to dry, so you didn’t have to wait around for too long, especially as you need to paint on both sides.
The most time consuming part was actually having to wash the stencil a few times, as I wanted to use both sides. But again, it’s not difficult to do!
My one issue here was the the stencil brushes weren’t great. Stencil brushes are fat and flat on top, but the flat top of these weren’t very even and there were quite a few longer bits that had a tendency to splay. They also lost some bristles so I had to be careful to remove them before the paint dried. It’s certainly not a deal breaker, and I still managed perfectly well, but there were definitely a few bits of paint that got in places it shouldn’t have because the brush wasn’t great. But this is a small thing, and the stencil design I chose was moderately complicated.
Anyway, once the painting was completed, it was time to put the frame together.

This was very easy to do, the whole thing just slotted together. The video actually instructs you to put it together the first time without gluing it, so you can make sure you’re doing it correctly.
I think that if you wanted to you could paint or stain the frame as well, though it wasn’t part of the project.
Then once it was glued, you add dowels and the painted canvas part.

And there it is! It looks so fab, and would be perfect for books or magazines.
I would say the whole project took me a couple of hours in total, though I did it in bits throughout a day.

